January 25, 2011

THERE IS ABSOLUTELY NO PLACE LIKE HOME....

After being out of my sewing environment for 2 months and 1 week to be exact, I have to say, "folks, there is absolutely no place like home!!!".  I received the official word that I could move back into my sewing cave on Saturday.  Although I use the phrase Sewing Cave as a term of endearment, I'll certainly need to re-name it something else because now it's soooooooooo much better than a cave.  I've even tried to downsize a bit in moving back in - no, not by downsizing patterns, machines or fabric, but rather a few things to help give the room the illusion of being more spacious. I'm not finished with it yet, but couldn't wait to give you a peek in.  I think it's so much better!  First, because the walls are no longer brown paneling but rather a creamy powdered snow white.  I've had as much as possible attached to the walls to free up space - like my thread racks that I'm just in love with.  I'm also moving the floor mirror to my bedroom, and I'll be having a full length mirror attached to the entrance door instead - that way Lady Faye will have more space to spread out. 
Two of these cone thread racks use to sit on my book shelves and took up valuable shelf space
I use to pray that my bookshelves wouldn't fall down (they were self installed) - don't think I'll have a problem with them now that they're bolted into the wall
The miniature luggage trunks are the new home of all my lining fabric.  (I got the idea for them from Ebony)
Lady Faye is no longer crowded in the corner in front of the floor mirror
The hook for the water bottle is bolted.  Now I can fill it up without worrying that it will pull off the wall
The cable box and dvd player use to teeter on top of the little television.  Now they sit securely on their very own shelf.


Being displaced for 10 weeks didn't stop my sewing, but it was a HUGE inconvenience - at times nerve racking.  I did so much complaining in my mind (and to a few very close friends), and once even threatening to move out.  I feel so sorry for my Mother - she is always a sounding board for all my venting and complaining.  In her words, "Linda, it's going to be so worth it".  Mother you are ALWAYS right!


I've only made curtains once and that was a very long time ago. They were nothing to brag about.  I do plan on making the ones for this room.  I've also got plans in my head for track lighting over the sewing table - but that is for later on.   I want this room to be a beautiful reflection of me, something cheery and pretty because I spend so much of my time in here.  After all, it's the place where I create, the place I de-stress and actually relax - the place I'd most like to be.... 

January 19, 2011

SEWING VINTAGE...

What I thought was a perfectly fitted muslin,
is now the not so perfect first stage of my actual skirt.  After putting the pieces together and taking a look at the fit, I discovered that the skirt is a bit too a-linish in the back.   Here are a couple of front and side views

 And here is a picture of the excess fabric in the back of the skirt.  Please excuse the picture being on it's side, I don't know how to rotate pictures yet.  Removing the extra 2 1/2" of excess right below the zipper by increasing the side seams would be so easy.  Howbeit, I think that if I took that route I think I would seriously jeopardize the size pleating.

 I think the correction should be made in the center back seam.  The only deterrent is that I will have to remove and re-insert the invisible zipper.  I guess I should mention that I've already removed and re-inserted once for the sake of perfectionism.  But of course I did say that I wanted to get in a lot of practice inserting invisible zippers this month.  If anyone else has any other suggestions on this I would appreciate hearing from you...

January 16, 2011

PREEMPTION....

....I interrupted all previously scheduled sewing projects to bring you the dress that I've been obsessing about for the past two weeks.  I actually should be working on my Vintage 2011 Sew Along skirt.  I hadn't mentioned the dress here, but had the pattern at the top of my inspiration pile. This was actually a pretty easy project that I've been wanting to get sewn up since early this week.  This dress was actually meant for my Mom, and I had plans for doing one for myself afterward. But after completing it and trying it on myself, I decided that this wouldn't be the dress for Mom  after all.  (I'll have to choose a different pattern for her.)  So this one will be mine and I still plan on making another one in a different fabric.
I used this pattern before to make the sweater cozy 2 years ago, and it that turned out quite well.
 

SEWING ROOM UPDATE:  Still in process.  A door and a half, two window sills and carpet cleaning left to complete.

NAMING MY MANIKIN:  My manikin finally has a name.  My friend Ebony suggested naming her "LADY FAYE" - and so it is.  I think that name is all together fitting and proper for her.  Thanks Ebony!

And now to return to the regularly scheduled project at hand - my vintage skirt...


January 11, 2011

HOUSTON, I THINK I'VE GOT A WORKABLE VINTAGE MUSLIN...

...I've concluded that there are 4 stages of "Sewing Paralysis":

  •  Stage 1 - Serious Over Thought (I think this is the way, but maybe there's a better way);
  • Stage 2 - You be come indecisiveness; (should I do it this way, or should I do it that way);
  • Stage 3 - You lose whatever confidence you started out with (but what if...); and lastly
  • Stage 4 - You enter into "Total Sewing Paralysis" (where you can't even move or start the project, and might even start to cry)....
Been there, done that???, you know I have, and it almost happened to me yesterday when I was trying to "Grade" my vintage skirt pattern up about 3 sizes.

 
When I chose this pattern I was so sure that I could do this, but when it came down to starting the project I began to doubt myself.  I started to take a picture of the pattern pieces and email it to my secret sewing mentors to beg for advice.  But I was able to talk myself out of calling in the allies, and pulled up my big girl panties and worked it out myself.  Oh, it wasn't because I didn't think they'd help me out, because they always come to my rescue!  I just decided not to remove my crutches, and stand on my own with this project.

In grading the two pattern pieces up 3 sizes, I need to add 10 1/2" to the waist and 5" to the hip area of the pattern.  My problem was in trying to decide whether to divide by four and add the results to the side seam allowance; or to divide by two and add the results to the center front and back of the pattern.  I thought about Nancy Zieman's "PIVOT AND SLIDE" method or her "SLASH AND SPREAD" method.  With all of my reference books still packed up, I decided to wing it and go with the slash and spread option.
My muslin is a little large in the waist and hip areas, but I've made notes and adjustments on my traced pattern to help me remember what changes to make.  I think I've got a workable muslin, my fabric has been pre-treated, and now I'm ready to pin and start cutting.  TOTAL SEWING PARALYSIS averted...

January 10, 2011

FINSIHED PROJECT/INVISIBLE ZIPPER APPLICATION/RTW ZIPPER FACING TECHNIQUE....

....In my ongoing effort to make my fashions look more professional, I incorporated this RTW Style Zipper Facing Application that was mentioned by Erica Bunker in her recent interview on the Blue Gardenia Blog.  You can find that tutorial here.

When I first looked at the tutorial it seemed easy enough to pull off.  But I just could not figure out how to make it work with a lapped Zipper.  After concluding that this wouldn't be so easy after-all, I stored the link for future reference.  But something pulled me back for a second look.  This time I actually READ the instructions, rather than READING the pictures, if you get my drift.  (I'm quite often guilty of doing that).  I discovered that it was meant to be used with an invisible  zipper rather than the lapped type (DUH!).

Last Monday I had made up my mind that 2011 is high time to make installing invisible zippers "Second Nature", rather than just using it here and there.  Hancock's had a 30% off sale on zippers so I picked up a few.

I figured that forcing myself to install them one right after the other I could finally get them done without second guessing.  So that is what I've worked on for the last day and a half.  After installing and removing  a zipper in my current project, I think I've finally settled on this video to clarify instructions.  Using this method the zipper went in with ease.     QUESTION:  Has anyone heard of or know where I could get the "RIGHT SIDED FOOT" mentioned in this video???

Now back to the RTW Zipper Facing:  This little gem helped eliminate bulk that is always created by the facing seam allowance, and solved the question of how to finish the end of the facing rather than just folding it back and whip stitching down.

So here's my second finished project of the New Year.  Same McCall's pattern as the last skirt, which I think I'll retire for a while and move on to my Vintage 2011 Sew Along skirt.  I've got the vintage skirt and a dress still weighing heavily on my mind.  School is out tomorrow due to storm warnings, so I have a reprieve of sorts and actually have another day to sew....

January 6, 2011

NO, I'M NOT A PREACHER, AND I KNOW THIS IS A SEWING BLOG, BUT......

 I think it's funny/ironic/amazing how one things totally unrelated can trigger memories of something you haven't thought of in years.  I had a memory trigger today about the outfit I wore.  I'd envisioned pulling this simple look together way back in mid-August.  You might remember this post called "Unintentional Purchases" where I showed two pieces fabric (both for pencil skirts) that I purchased  from Joann's unintentionally. (Unintentional:  famous sewists term used by most fabricholics when trying to justify buying fabric that they really do not need.)   I'm finally getting around to using this fabric for my skirts.
 
 I used this pattern, and although it was a easy peasy 3 pattern piece project I made a muslin to ensure the fit.  (I think I'm addicted to muslining now.)


MCCALLS 3830


There's nothing extra special about it, but I always think it's amazing nice when visions or dreams actually become reality - because we know that they do.  ""As a man thinkth, so shall it be"  (the Holy Bible); and "if you can conceive it, and believe it, you can achieve it"  (Napoleon Hill I think).  (Probably got that one a little twisted, but I'm sure you know what I mean.)  I finished the purple skirt last night, and it became my first sewing project of the New Year.  It was part of my simple vision come true outfit from way back in August.  The memory triggered about the skirt/outfit were actually these Bible verses:
  • Exodus 13:12 That thou shalt set apart unto the LORD all that openeth the matrix...,
My paraphrased explanation is - that which opens the matrix is the the first thing that comes through.  Of course these verses were referring to first born animals or children set aside for service to the Lord.  This explanation took me further in to thought about "first fruit offerings".  Now how does this pertain to a skirt - you might ask???  The reference is to the first thing, the best thing, not just cattle, children, or crops.  When the first thing/the best thing was dedicated to God it became blessed, and all the rest (that came afterward) was also blessed.  I know this still holds true today.

My next thought was whether my work was worthy/perfect enough to dedicate to God.  But then nothing I could give will ever be worthy or perfect enough.  I think what matters most is that whatever we dedicate is already his (Exodus 34:19), but He wants us to return it to Him.  

The LORD will open the heavens, the storehouse of his bounty, to send rain on your land in season and to bless all the work of your hands.   Deuteronomy 28:12 NIV


Then the LORD your God will make you most prosperous in all the work of your hands...  Deuteronomy 30:9 NIV

"In everything you do, put God first, and He will direct you and crown your efforts with success." 

Alright, enough preaching for today.  Here's the outfit, the first one (sewing project )through the matrix for me of the New Year. 


Although not perfect, I'm praying that God will bless the works of my hands all through the year!!!

January 2, 2011

2010: A LOOK BACK; (who am I kidding, long post, heavy pics)...

Glancing back at the 2010 Sewing Goals that I set, I don't think I did too badly...
 
1. Practice sessions for:
. Invisible zipper
  - Applied 2 Invisible Zippers
. Collar application - Not even attempted
. Hong Kong finishes - Completely finished inside of jacket
. Spanish Snap Buttonholes - Practice Session
. Window Pane Bound Buttonholes - Practice Sessions and added to Lady Grey Coat
2. Continue working on Fitting Pants - Made 4 pair of pants

3. Focus more on 4 to 6 piece Capsule sewing. - Made pants, jacket, skirt and top4. Try (a little) Home Decor - Tablecloth for Desiree
5. Concentrate on sewing things that I really, really, really like more - Check, although I still had some pieces that I did not like.


.  I'm still not 100% competent with the Invisible Zippers, but not totally scared of them either,
.  I'm comfortable with Hong Kong finishes,
.  I feel pretty good about Bound Buttonholes,
.  Still need to work on Pant Fitting,
.  Need to do more Capsule Sewing because as much as I sew, I still feel like I don't have enough    clothes,
.  I will be doing more home decor in 2011, planning on making curtains for my newly renovated sewing room (whenever it gets finished),
.  I didn't even attempt the Stand Collar Application, so it will be a MUST in 2011.
.  The Lady Faye Coat pushed me to the outer limits of sewing challenged me to learn new fitting and tailoring techniques that I never dreamed I would try - which was a good thing.  Tailoring a pattern that wasn't meant to be tailored in the first place was quite a daunting task.  Although the project was far to lengthy, I am glad that I finished it.  I plan on making it again as a spring rain coat but this time without all the tailoring. 
 
I completed 32 Projects in 2010:
3 - Skirts
1 - Coat
10 - Dresses
10 - Tops
4 - Pants
3 - Jackets
1 - Home Decor Project

and these are pictures of my 2010 top picks:

My 2010 #1 Favorite
My 2010 #2 Top Favorite made in a home dec fabric


 SEWING ROOM UPDATE

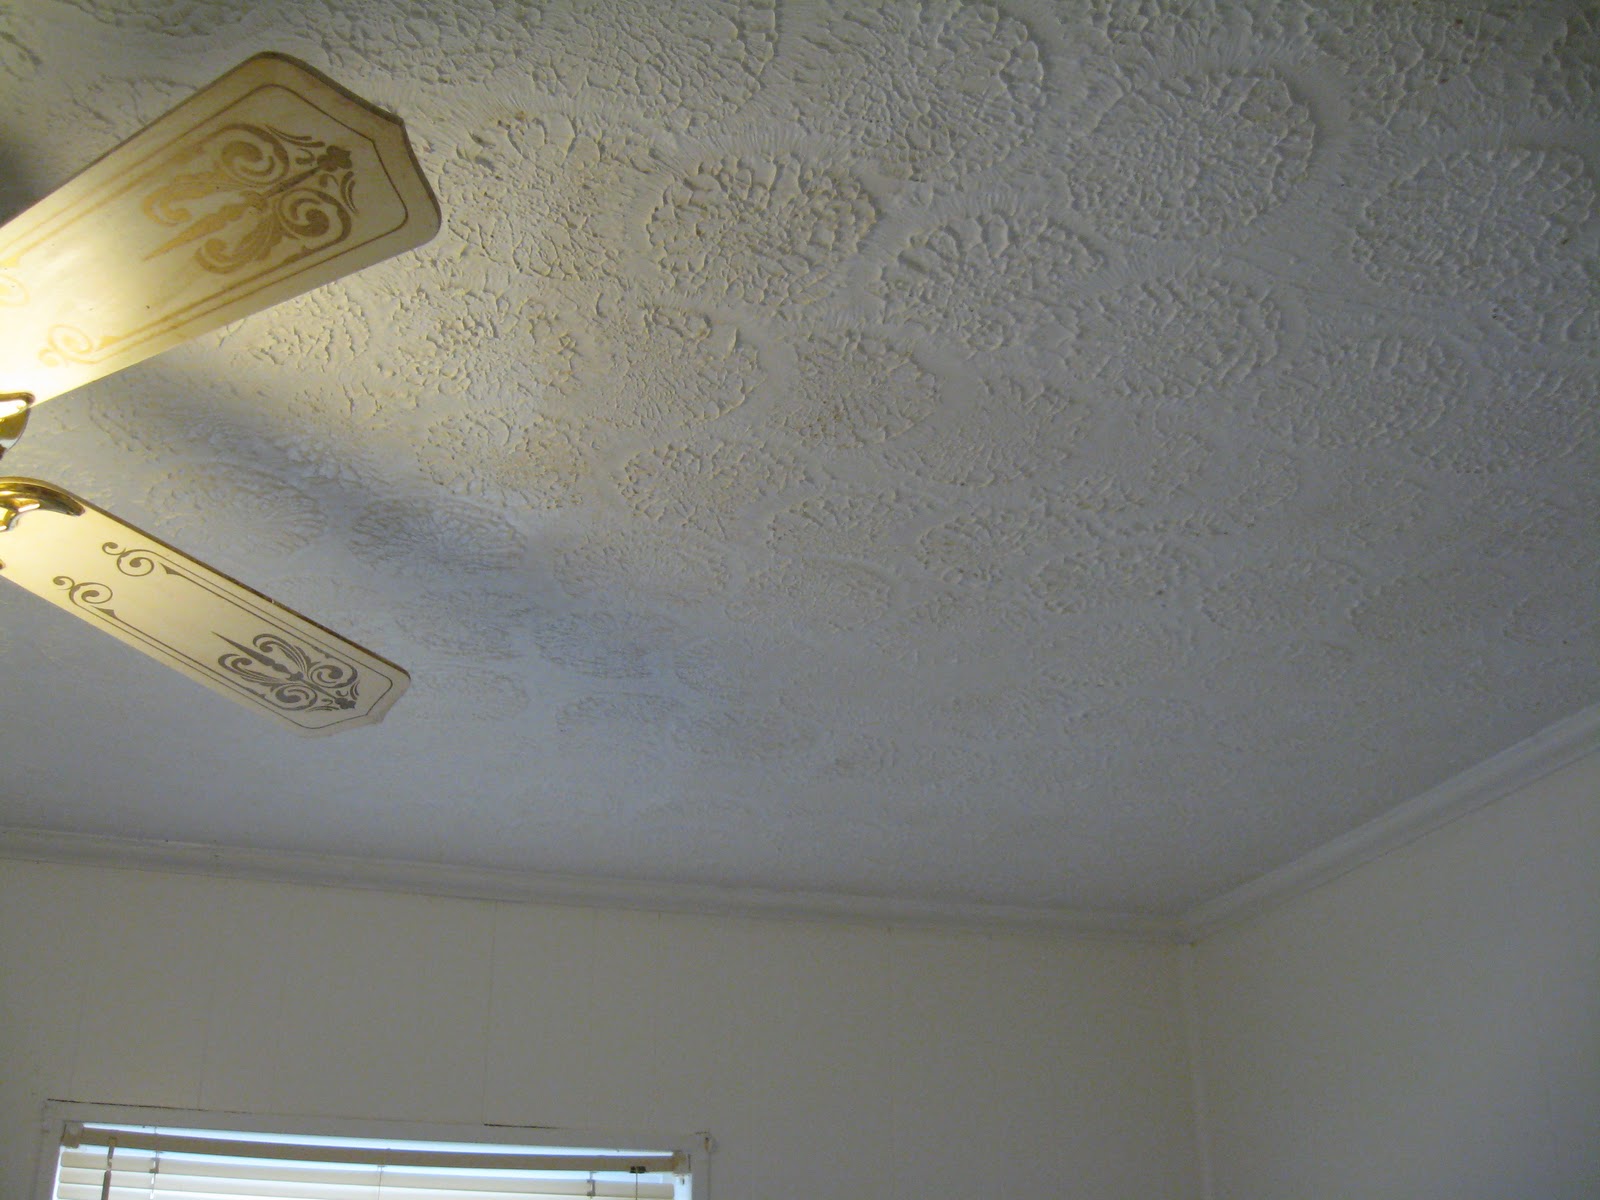
Painting the ceiling on Friday
It is beautiful ya'll, and maybe it'll be finished by Easter (sarcasm)
 I SPENT CHRISTMAS IN ANTARCTICA NORTH CAROLINA WITH MY CHILDREN:

This was my car on Christmas Day
These kids hold my heart strings 


  WHAT'S IN THE WORKS RIGHT NOW:
2 PENCIL SKIRTS (ONE ALMOST FINISHED, THE BLACK AND WHITE TO BE CUT TOMORROW
DIDN'T I SAY THAT I WOULDN'T BE JOINING ANOTHER SEW ALONG FOR QUITE SOME TIME???:
Well people, nobody twisted my arm but I did Join the Vintage Sew Along that actually started today.  I heart plaid pleated wool skirts, so when I found out that this circa 1980's pattern qualified as vintage I jumped on yet another sew along boat.  This is a wool blend that I scooped up at Hancock's last year.  The pattern is one that I found at a thrift junk store that my friends Ebony and Danielle cruise every once and a while.  It reminds me of a skirt I made back in the 80' that I loved so much.  The pattern challenge is that it's a size 12, and I am clearly not there (not with all of my holiday eating that is).  So I will need to grade up at least one size to make it work for me.  I think it's a unique pattern because the pleats are located at the side of the skirt.  A black or red sweater, black wool blazer, boots, gloves, and my hat will tear this skirt up, don't you agree?
Vintage pattern circa 1980
Well, I guess that's enough for this time folks.  Happy New Sewing Year ....

Paying Homage to Black Pattern Designers...

...for years February has been set aside as a special time to learn about and recognize accomplishments of African Americans and other peopl...